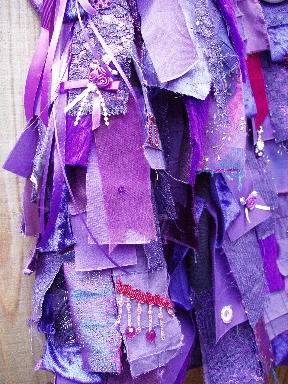
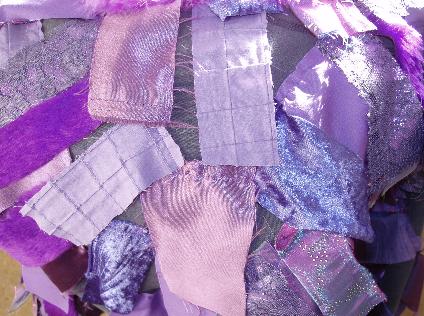
Cut your strips. They don't have to be all the same size, because you may want longer or shorter ones at different places on the coat, and you'll certainly want half-width ones at row ends, but otherwise, roughly the same size is helpful.
What size is up to you, depending on the effect you want to achieve, but mine are usually around 2" x 5"-7"On the whole, most people don't bother with pinking shears, but the job can be quite tough on the hands, so if possible, it's best if you don't try to do it all at once! No need to cut them all at once - there may be waste if you've overestimated, so just cut as much as you know you'll need to be going on with.
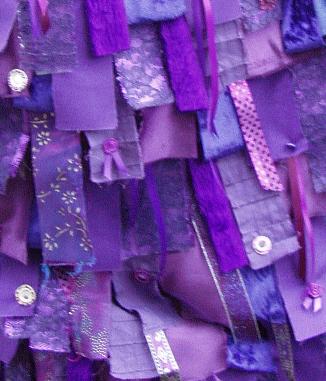
Rough edges are part of the garment's charm, but if you've got material that frays easily, to the extent of disintegrating, you'll need to reinforce the edges - what I do is just run the edges lightly along a bead of fabric glue: the merest trace is enough, and it won't show.Top of section
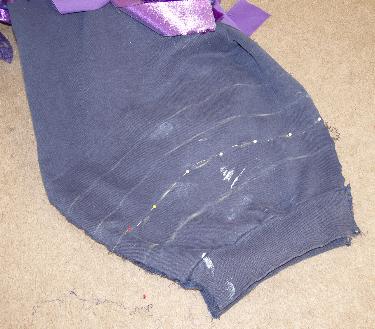
Mark up your base garment. You need guidelines to keep the rows straight, so get a long ruler or a straight edge of some sort and draw horizontal lines to represent your rows of tatters - you can use a pen, the lines aren't going to show.
I start on the back and then re-fold the base garment into a profile view, with buttons done up, and continue the lines forward on each side to get front and back matching up, then flatten it out again and check that the lines have ended up straight across the front.
How far apart is up to you again. Overlapping by around two-thirds the length of the strip is fine, depending on how thick you want it and how much of the base garment you're prepared to allow to show. You can always put in extra rows if you think it needs them, though that's a bit fiddly.Top of section
Take special care round the armpits and shoulders - at what point the sleeves follow the same sequence as the shoulders and at what point they develop their own series of rows will depend mainly on how wide the armholes are.
Top of sectionSort the strips into easily accessible piles in the order they'll go in on the coat. If you've got some fabrics which you've got less of, you can put two fabrics into one pile in some places, so that the strips will be placed A, B, C1, D, E, F1, A, B, C2, D, E, F2
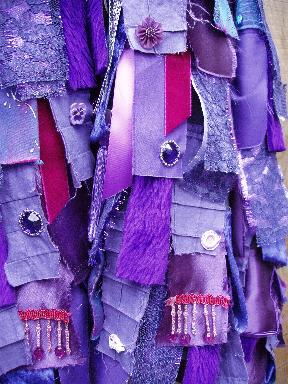
Start sewing! Start at the bottom, lay the strips along your guideline and just run the machine along the tops. They'll need to look properly arranged when the row ends meet at the front, so as you near the end of the row, think about what it's going to look like and if necessary, start fudging - using narrower or broader strips or switching the order round slightly
For the next row, stagger the strips, bricklaying fashion - it will mean starting and ending the row with a half-width strip. Keep going up, always checking that the 2 sides of the front are meeting properly. Be prepared to fudge as necessary if you find you've too many fancy strips or plain bits together.
When you get to the shoulders, sooner or later you'll have to change direction, and this can be a bit fiddly - you may have to handsew or stick extra overlapping strips to cover this. Think epaulettes!
Points to note about sleeves. To machine-sew the sleeves, you have to unpick the seams as far as the armpits, open them out and then sew them up again - it won't matter if the seam is a bit bodged, because it's not going to show under the tatters.
Because the strips will flap about as the arms move, you may want to have the rows closer together, to avoid the base garment showing through too much.
For practicality, the strips need to be short round the cuffs and along the underside of the forearm - otherwise you'll find you're trailing them in your soup!Top of section
I fold the cuff row of strips under for neatness and to keep the base cuffs covered.
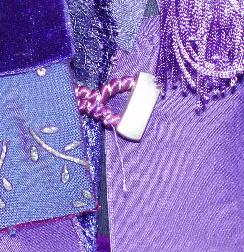
Fastenings and Collar: If you're using fastenings and/or a collar, put them on now - keep fastenings non-fiddly and accessible.Top of sectionFinally - Bodging- filling in any gaps, reinforcing insecure strips etc
and Decorating- the really fun part!