Please scroll down
for the full set of pics and a description of how I made it.
Back to Communications index
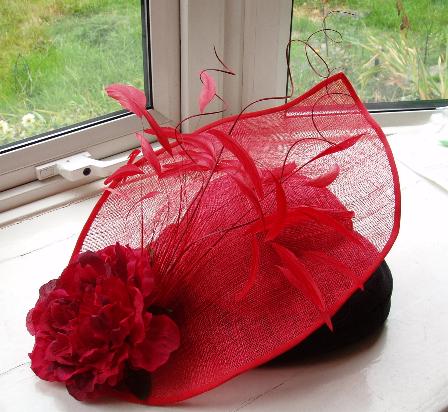
The basis of this is a mould made from artists' plaster-bandage, roughly the size and shape of the top of my head, smoothed down a bit with sandpaper & DIY filler and painted to seal the surface.
Then I used this to shape the skull-cap shape underneath - it was just a question of damping the sinamay and stretching it and smoothing it over the mould. If you have a proper hatblock you can pin it, but being a cheapskate I had to use a combination of tucking the edges under and securing with a big elastic band. Then I dried it with a hair-dryer.
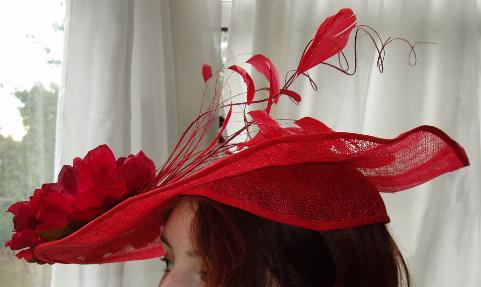
The brim part was trickier. It's two layers of sinamay, cut to shape and then curved to fit over a saucepan of boiling water, using a variety of implements such as wooden spoons and smaller pans to achieve the curves.
I bound all the edges with bias binding - mostly hand-stitched, because machine-stitching stretches the sinamay out of shape - and stitched the brim to the cap in a few random places.
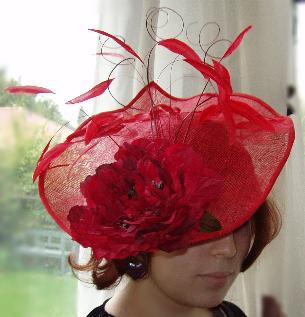
The decoration is a feather mount from Randall
Ribbons, some ting-ting (dyed and curled florists' twigs) from a shop in Whitby and one of the peonies
I got from Poundland, all hot-glued into place.
The whole is held onto the head with a thin elastic band under the hair at
the back of the head.